The Basics Of Growing Autoflowers Outdoors: From Seed To Harvest
Share
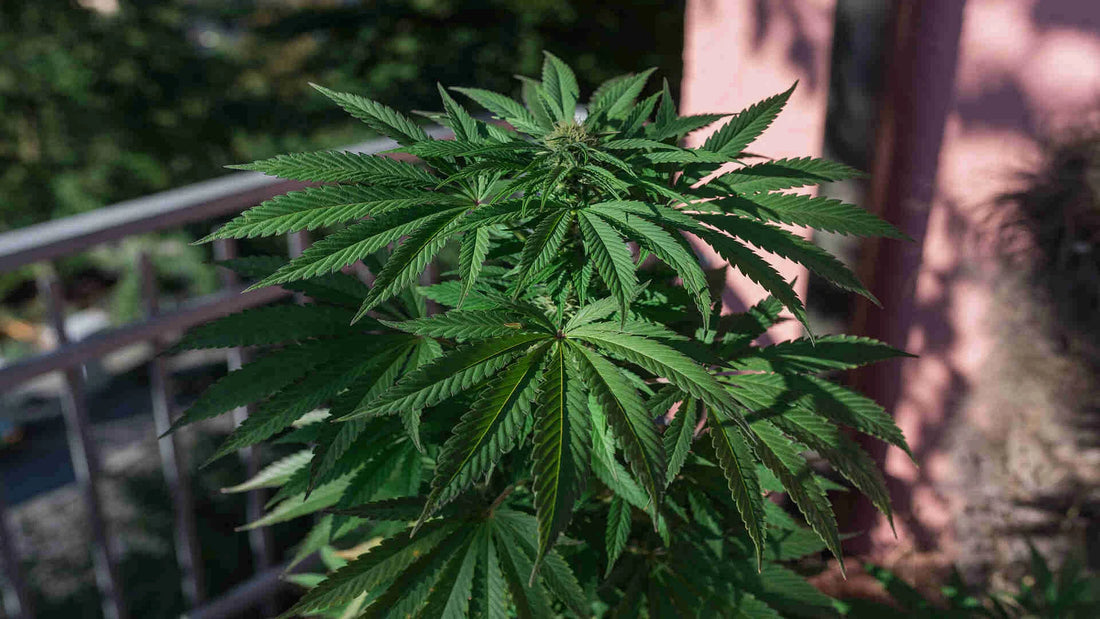
As the full swing of Spring arrives, many gardeners look forward to May, a month marked by the last frosts and an ideal time to begin planting. Among the diverse types of cannabis, autoflowering strains are particularly suitable for this period. Unlike their photoperiod counterparts, which require specific light cycles to transition from vegetative growth to flowering, autoflowers switch from seedling to bloom phase based on age, not light exposure. This distinct trait simplifies the cultivation process and makes them perfect for beginners or those looking to harvest multiple times per season.
Why Plant Autoflowers In May?
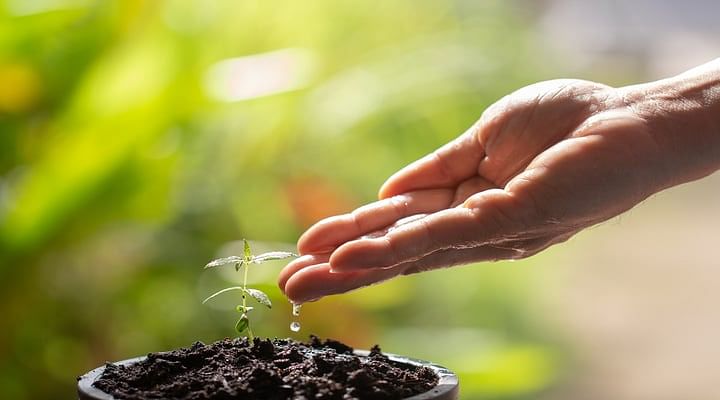
Planting autoflowers in May aligns perfectly with their growth requirements and natural cycles. After the risk of frost has passed, the soil temperature has increased enough to promote optimal germination and root development. Starting your autoflowers directly in the ground or their "forever pot" ensures a stable environment conducive to healthy growth, as these plants thrive in consistent conditions without transplanting.

Since most Autoflower varieties take 75-100 days from seed to harvest, you can ensure multiple outdoor harvests by starting your autoflowers in May. That's why we have Autoflower specials running all month long. This is especially useful for folks living in areas with limited plant counts. By starting your autoflowers in May, you can harvest them in July or August and transition to another round of autoflowers or photoperiod plants that will begin flowering shortly after planting in late July or August. This is perfect for those wanting to finish up their season in October.
If you live somewhere with a temperate climate that allows you to garden year-round, you can continue to plant autoflowers through the winter and not worry about the length of light. Autoflowers allow gardeners in warm regions to grow their cannabis perpetually outside.
Understanding Autoflower Stress Responses
Autoflowers are known for their ability to flower regardless of light cycle, but they are also susceptible to stress if not managed correctly. One of the most common stressors for these plants is transplant shock. Unlike regular cannabis strains, autoflowers do not recover well from disturbances to their root systems. This sensitivity makes it crucial to plant them in a large enough pot or a garden space where they can remain throughout their life cycle. Doing this eliminates the risk of transplant shock, allowing the plant to focus all its energy on growth and flowering.

Starting your autoflowers in their "forever home" also means starting them outside, which is ideal for all sun-grown seedlings. Remember, seedlings will do great outdoors as long as the nighttime temperature stays above 40 F. You can ensure your soil temperature is warmer during the night by planting directly in the ground, using a greenhouse, or a cold frame.
Planting Autoflowers: Soil and Setup
When planting autoflowers, choose a pot that will accommodate the plant's size (the bigger, the better). As I always say - "The bigger the roots, the bigger the shoots, the bigger the fruits." The soil should be rich in organic matter but well-draining to prevent waterlogging, which can stunt the plant's growth. A balanced, slightly acidic to neutral pH (around 6.0-7.0) is ideal. Since autoflowers have a compact life cycle, often completing their journey from seed to harvest in just 8-10 weeks, maximizing their environment for rapid development is vital.
You can create your potting mix and add a fertilizer blend like Rainbow Mix, or you can buy pre-amended bags of potting mix. Most organic potting mixes will be very similar in what type of ingredients they contain; therefore, I don't recommend one over another. I avoid green waste compost as it is made from yard waste collected in waste management centres. This type of compost, while creating a valuable resource from waste materials, is better suited for non-consumed crops such as flowers since there are no regulations or knowledge of what types of chemicals have been sprayed or used on the starting material.

You don't want to overload them with too many nutrients at once, so a good rule of thumb for photoperiods is that every gallon of freshly amended potting mix in your container is equivalent to 1 month of vegetative growth. Since autoflowers can transition more rapidly than photoperiod plants, you should begin giving them a weekly nutrient tea after a few weeks post-transplant. Depending on the style of growing you are utilizing will influence what type of nutrients you use. If your potting mix is heavily amended with dry fertilizers, giving your plants a simple compost tea with plenty of beneficial microbes and enzymes will help break down the nutrients held within your soil.
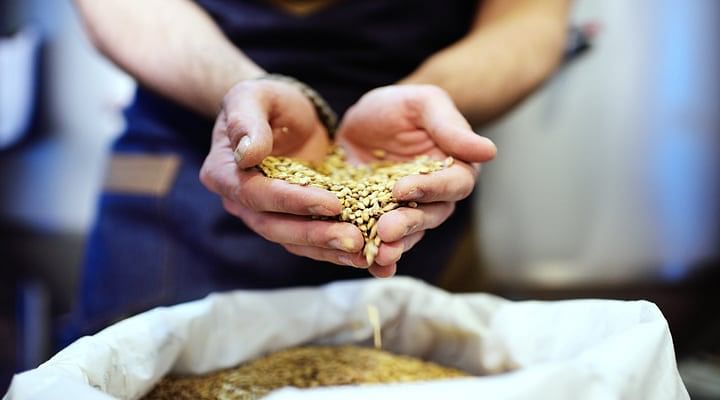
One ingredient I frequently use for its high enzyme content is malted barley or sprouted seed (malted barley is enzymatically active and pre-sprouted, dried, and available at local brew shops). These types of teas contain a wide range of enzymes, such as amylase and phosphatase, that do an excellent job of solubilizing carbon-based and phosphorous-based materials, respectively.

Enzyme Tea Recipe
· 1tbsp/ per gallon sprouted seed of choice
· 1 cup/ gallon compost
· ½ tsp per gallon potassium silicate
· ¼ tsp/gallon aloe
· ½ tsp per gallon fulvic
· ½ tsp per gallon soluble kelp extract
· 1/18th tsp per gallon yucca
Optional
· ½ cup per gallon alfalfa meal or bone meal depending on vegetative or flower cycle.
In a paint strainer, combine crushed/blended seeds and compost. Add alfalfa meal or bone meal, depending on the phase. Allow to bubble in the reservoir with air stones for 4-12 hours. Do not brew longer than 24 hours, as lactic acid can build up. The smell should be sweet and doughy, not sour.
Add additional ingredients, beginning with potassium silicate, and allow it to dissolve thoroughly before adding any other ingredients.
Add yucca last, as it contains high levels of saponins, which will bubble.
The ingredients in this simple tea contain several that increase the uptake of minerals that should already be contained within your potting mix and increase the superoxide dismutase in your plants. This specific enzyme is basically an anti-oxidant for plants and can help reduce stress from living outside, including heat, drought, transplant, insect attack, etc. Yucca, fulvic, and kelp specifically do this and contain many plant hormones that increase growth and plant health.
Keeping Autoflowers Happy And Healthy
The key to successful autoflower grow is maintaining an optimal environment:
- Moisture: Keep the soil consistently moist but not waterlogged. Autoflowers do best with frequent, light watering, especially in well-draining soil.
- Nutrition: Start with a more diluted nutrient mix than you would use for photoperiod strains, as autoflowers can be sensitive to overfeeding. Gradually increase the strength as the plant matures. Use a balanced fertilizer that includes all necessary micro and macronutrients.
- Light: Although autoflowers don't require specific light cycles, they do best with long hours of light to maximize growth. If planting outdoors, choose a spot with ample sunlight throughout the day.

Monitoring And Adjustments
Regular monitoring is crucial. Check your plants for nutrient deficiency or excess, pests, and diseases daily. Autoflowers grow quickly, and issues must be corrected promptly to ensure a robust yield. Adjust care as necessary, particularly if you notice signs of stress, such as drooping leaves or discolorations.
Make sure you have an effective IPM plan in place to prevent pest attacks. You can learn all about IPM in this article or take this class, which will give you a 28-page pest guide with direct links to products that work.
Harvest Time
As autoflowers will automatically start flowering at a certain point, it's essential to recognize the signs that they are ready to harvest. The flowering stage usually lasts about 5-7 weeks, after which the buds should be dense, and the trichomes — the tiny crystal-like structures on the buds — should shift from clear to a milky white and then amber colour. This change indicates peak THC levels and is generally the best time to harvest.

Growing autoflowers is a rewarding experience, especially for those with limited time or growing space. By understanding their unique needs and maintaining a stable, supportive environment from seed to harvest, gardeners can enjoy several harvests of high-quality cannabis throughout the growing season.

